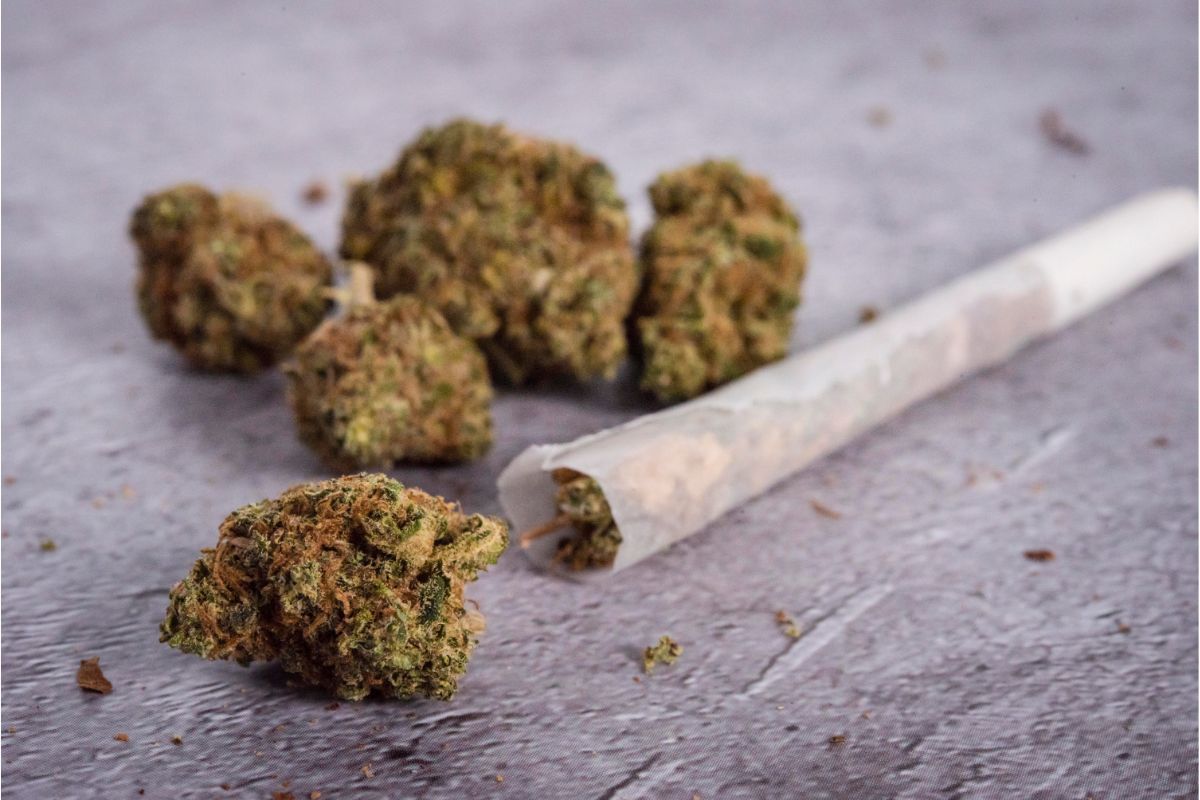
You never know when you might need to roll a joint. It’s a handy skill, or else you’ll spend money on pre-rolled joints or smoking from a pipe. While there’s nothing wrong with this, you have more options available when you roll your own.
Plus, you have more control over how much you smoke at a time, and what’s wrong with bragging rights? By the end of this post, you’ll be rolling a joint like an expert.
We’ll take you through what equipment you need to roll a joint and a step-by-step process to rolling one. If you’re struggling, we also have a few helpful tips you should keep in mind to help you roll like an expert.
How Do You Roll a Joint Like An Expert?
You’ll need to practice if you want to roll a joint like an expert. While there are many different methods of rolling a joint, it can be challenging to get it right at first.
If you want to roll a joint like an expert, you must ensure it burns smoothly and evenly. But how can you make sure it does?
You’ll need the right equipment to roll the perfect joint. You’ll need some good-quality weed, tools, and plenty of practice. No one rolls their joint perfectly the first time, so you shouldn’t give up if you’re not rolling like an expert straight away.
What Do You Need To Roll A Joint?
If you’re new to rolling a joint, you might not realize how much equipment you’ll need. Ideally, your weed should be of decent quality, you won’t need the top of the range, but you want something good.
You’ll need a weed grinder, not necessarily a fancy one, just a basic one that will work. Some rolling papers, filter tips, and a lighter.
Not everyone buys filter tips, but they’re easier to roll than ripped-up cards. We recommend choosing 1 ¼ sized papers, as they’re easier to roll. They’re only 1 ¼ inches wide and usually 3 inches long.
However, if you want a larger joint, you’ll need 1 ½ papers, which are a little wider but not too much. We recommend only getting King-size papers only if you plan to smoke with a group of friends.
While you can use matches, we recommend using a lighter as they’re easy to re-use.
A Step-By-Step Guide To Joint Rolling
You’ll need to learn the step-by-step process to roll a joint like an expert. There are many ways to roll one, but we recommend starting with this method. You’ll find it easy to get the hang of, and once you’ve mastered this, you can move on to other methods.
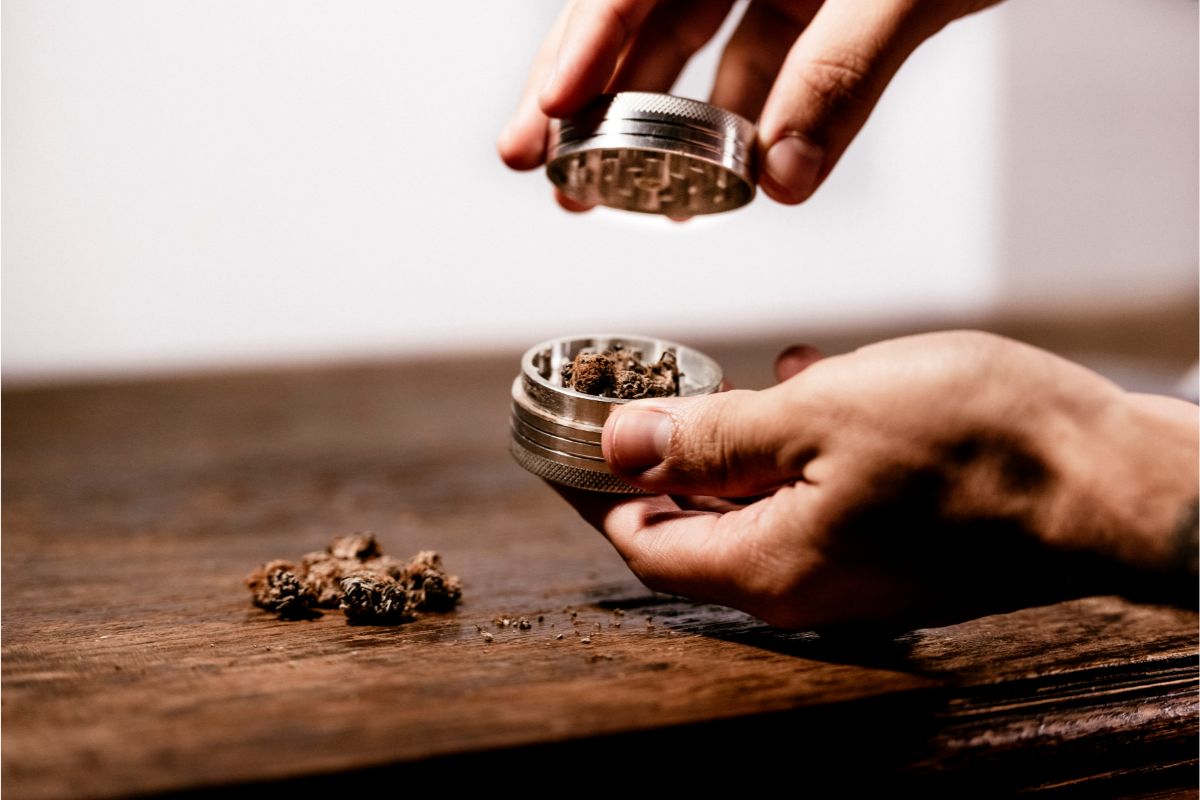
Step 1: Grind The Flower
Before you start rolling, you need to grind your flower so it has a good consistency. You’ll need to ensure it’s crumbly and free from any stems. If there are stems, you’ll find it more difficult to roll them, as they may puncture your paper.
You don’t want it to be too thick or thin to ensure it burns evenly. This might take a little bit of trial and error first.
Once you separate the stems from your flower, you must put them in your grinder. All you need to do is drop a nug into the grinder and twist it until there’s little resistance. This might take up to 10 or 12 twists, but it shouldn’t take long.
Step 2: Put A Filter Into Your Joint
Some people don’t like to smoke a joint with a filter, but it’s a great way to stop any bits of weed from slipping into your mouth while you smoke. You need to stop your filter from unfurling when you finish rolling, so you should roll it with accordion folds.
It should work as a gate for any stray bits of marijuana. However, you should remember that the thickness of your filter will determine how thick your joint will be.
If you want your joint to be thin, roll your filter so it is thin enough. You might need to experiment with this at first, but it shouldn’t take long to determine which size joint you prefer.
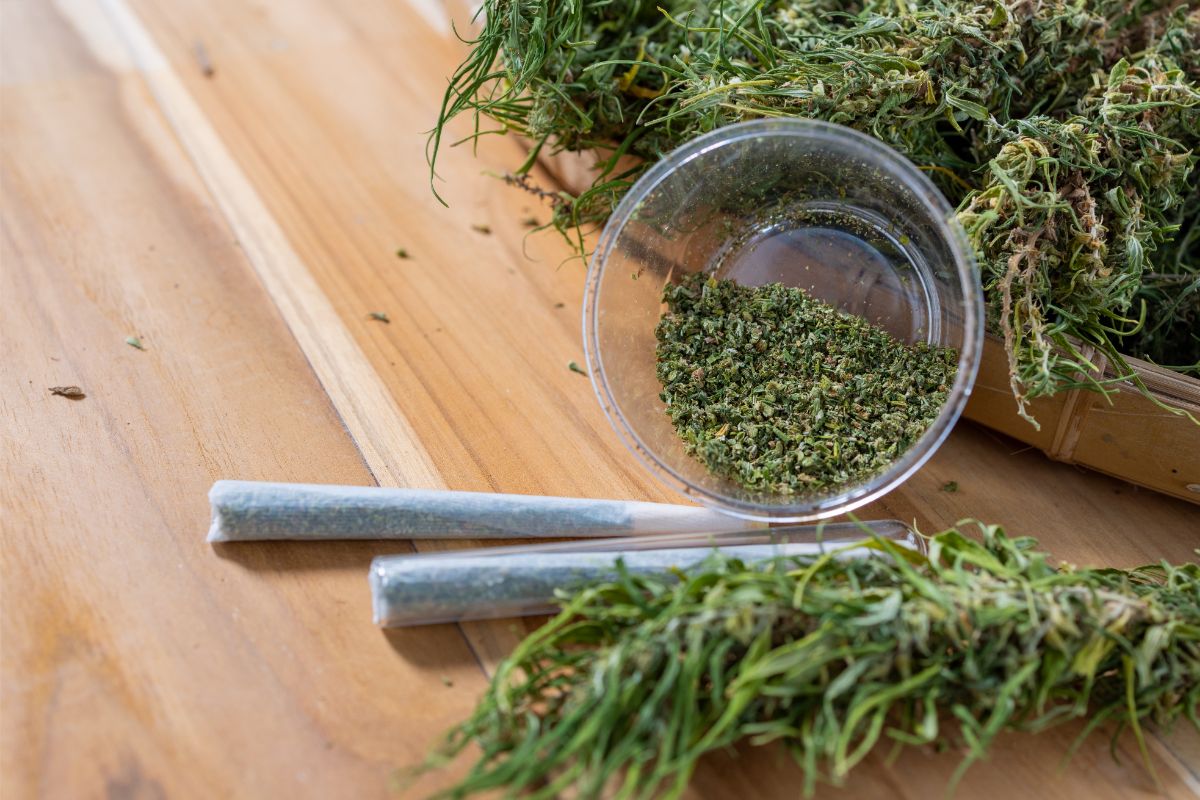
Step 3: Fill Your Paper
Now that you’ve found the right filter size, it’s time to grab a fresh sheet of rolling paper. We recommend laying it on a tray, plate, or magazine to catch any excess weed that might fall.
Drop your ground weed along the crease, and leave room to place your filter at the end. It doesn’t matter which end you place your filter, so long as you can roll comfortably.
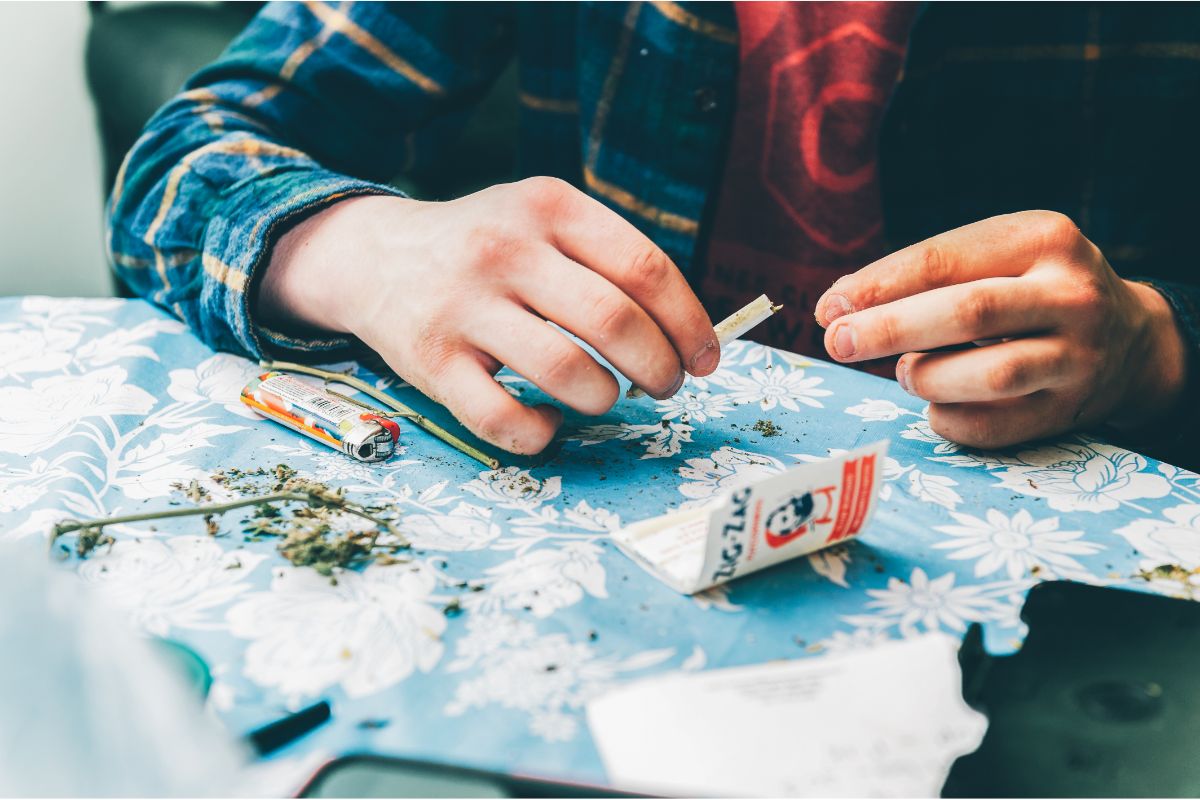
Step 4: Pinch Together And Roll
You’ll need to grab a joint by both ends of the paper to roll it well. Pinch the tops of your paper with your forefingers and thumbs, and rub them together in an up-and-down motion.
By rubbing your fingers together like this, you’re pushing your weed into a tight log which should be the same width as your filter.
One of the best ways to do this is by focusing on tightening the paper around your filter first. Once it’s tight there, it won’t take long for the rest of your joint to follow suit.
After it’s tightened enough, you just need to tuck the unglued side of your paper around your filter and roll it. Remember, the first time is always the most challenging, so try again if you don’t get it right the first time.
Step 5: Seal And Pack It
To seal your joint, you’ll need to lick the glued inseam. It’s like licking an envelope when you want to seal it. Once it’s sealed, tap your filter against a hard surface.
You can pack it with a pencil, chopstick, or any pointy objects before you twist your excess paper at the top of your joint. You need to twist it to ensure your joint stays in place, and now, you don’t have to do anything else but smoke it.
Helpful Joint Rolling Tips for Beginners
Rolling a joint for the first time is not easy, and it takes a lot of practice first. If you’re struggling, we have a few tips to help you get the hang of it.
You should start with thick papers when you start for the first time. You need a light touch to stop the papers from tearing. Ideally, beginners shouldn’t use thin or slim papers, so you can get used to rolling them gently.
Don’t over-roll your joints. You might think it’s a good idea to try and tuck in the paper, but you only need a few rolls. If you over-roll your joint, you might find it more difficult to draw from when you finally smoke it.
You should tuck one side first when you roll it. It’s best to use the side where your dominant hand is, so you can follow the seam and tuck in the rest of your paper.
Don’t lick the seal too much, or you’ll only make the paper wet. If the paper’s wet, you won’t be able to enjoy your joint as much.
If your joint becomes loose while rolling, go back and start again. All you need to do is pinch your filter more tightly. You’ll likely need to try a few times, but you’ll soon get the hang of it.
Sometimes, your joint burns unevenly, which might mean your weed is too chunky. This means you need to grind your weed a little more next time.
If you need to keep lighting your joint to get your smoke, you might have ground your weed too finely. When the weed is too finely ground, the air won’t flow through, so it won’t light properly.
As you can see, learning how to roll isn’t an easy process. A lot of trial and error is involved, so you shouldn’t be discouraged if you don’t roll like an expert immediately.
Conclusion
We hope you found this guide useful and that you won’t have any issues rolling a joint in the future. If you have any issues, look at our tips to see if these help you identify where you need some improvement.
Rolling a joint is a craft that cannot be mastered in one try. The more joints you roll, the more you’ll notice any improvement, so keep trying until you roll like an expert.
Frequently Asked Questions
How Do You Grind A Bud?
If you don’t have a weed grinder, you can always rip it apart with your hands. However, if you have one, you can also use a coffee grinder, cheese grater, or even a mortar and pestle.
What Happens If You Smoke The Stems?
The reason it’s best to remove the stems is because they can cause headaches, sore throats, and a coughing fit. Some people who’ve tried smoking the stems might also have stomach pain and nausea and taste like wood chips. So, it’s best to avoid them.
Hi, I’m Zack Finch and I work as a Budtender for a Health & Wellness center here, in sunny California. I have been using marijuana recreationally for around 6 years now, and have many a time enjoyed the benefit that weed has to offer.
Whether you’re looking for informational guides about edibles, vape oil, CBD, how to roll a cross joint, the best blunt wraps, anything you can think of, I’ll cover it here.
What are you waiting for? Become a bud buddy and dive in now!


")
")
")

")

