There are so many ways in which you can smoke weed, but the most common and popular way is definitely in joint form! Joints are beloved by smokers all over the world, and in this day and age, it’s become an art form.
In order for a joint to be considered a cone, it requires a little bit more skill, but if you are already rolling joints, then you are halfway there!

It might seem complicated to roll a cone at first, but once you check out the guide that we have included, you will be rolling your own in no time at all.
If you want to roll the perfect cone, then read on!
What Is A Cone?
So, we’ve already established that a cone is a type of joint, but what actually makes it different? Basically, a cone is a joint that has a tip that is wider than the bottom, aka the roach or carb.
The whole joint will take on a cone shape because of this, and that’s where it gets its name! There is more weed packed into the tip and it gradually gets smaller as you smoke it, but the beauty of cone joints is that you can roll them however big you want!
Cone joints also look so much better than regular joints, so if you can roll one, you’ll certainly impress your friends. It’s worth learning how to roll cones, especially if you care about your presentation.
How To Roll A Cone
So, now you know what a cone joint actually is, let’s take a look at how to properly roll one. Rolling a good cone does take some skill, but honestly, it’s more about practice than anything!
If you can already roll a standard joint, then you already have the basics down, now it’s just about adding a bit of finesse to your process!
The items you will need to roll a cone include:
- Weed or your herb of choice
- Rolling papers
- Filter tips or thin cardboard
- Ginder
- Flat rolling surface
Once you have these items, simply follow the steps below to roll your first cone!
Step 1: Grind Your Herbs
Before you do anything else, you are going to need to grind up your weed. You want your weed to be as fine as possible because this will make the whole rolling process a whole lot easier.
If your weed is lumpy, it can cause complications later on in the roll and the cone won’t burn properly.
Step 2: Make Your Filter
Next, you need to make your filter. This part of the joint is usually referred to as the roach or the carb. You can use premade filters if you want, but making your own is pretty straightforward.
If you are making your own, all you need to do is cut a small rectangular shape out of the cardboard or material of your choice. Once you have done that, you just need to make a small “M” shape in the material and then roll it until you reach your desired thickness.

Step 3: Fill The Rolling Paper
Take one of your rolling papers and lay it open on a flat surface. If your rolling paper doesn’t already have a crease in the center, make sure you add one as it will make the whole rolling process a lot easier.
Take your filter and put it at the end of whichever side you want. Just make sure the end you choose is the easiest for you to roll.
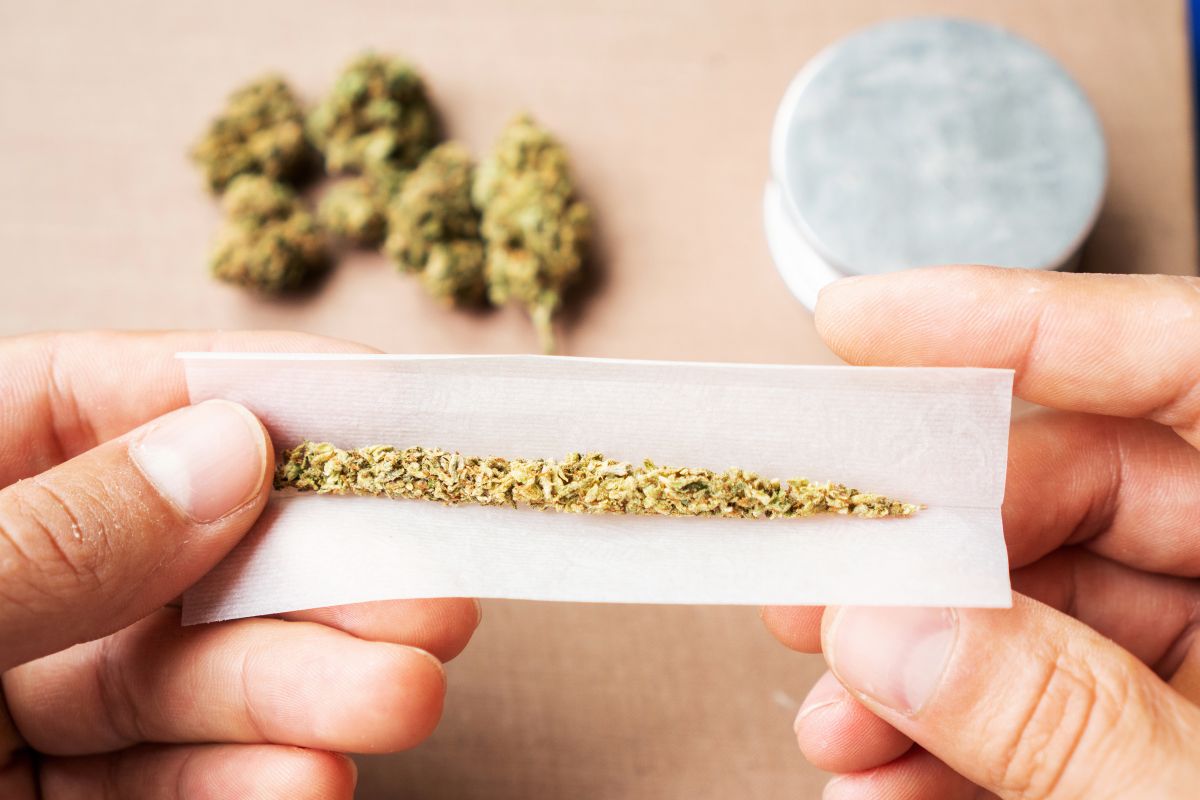
Once you have placed the filter, fill the center of it with your ground-up weed and use the crease as a guideline for where the center point is.
Step 4: Start Creating A Cone Shape
With your rolling paper and weed still laid flat on your surface, start creating a cone shape. To do this, you just need to add more weed at the top of the joint, gradually adding less and less near the filter.
You want the top part of the joint to be bigger than the part closest to the filter as this is how the cone shape will form when you start rolling.
Step 5: Start Rolling Your Cone
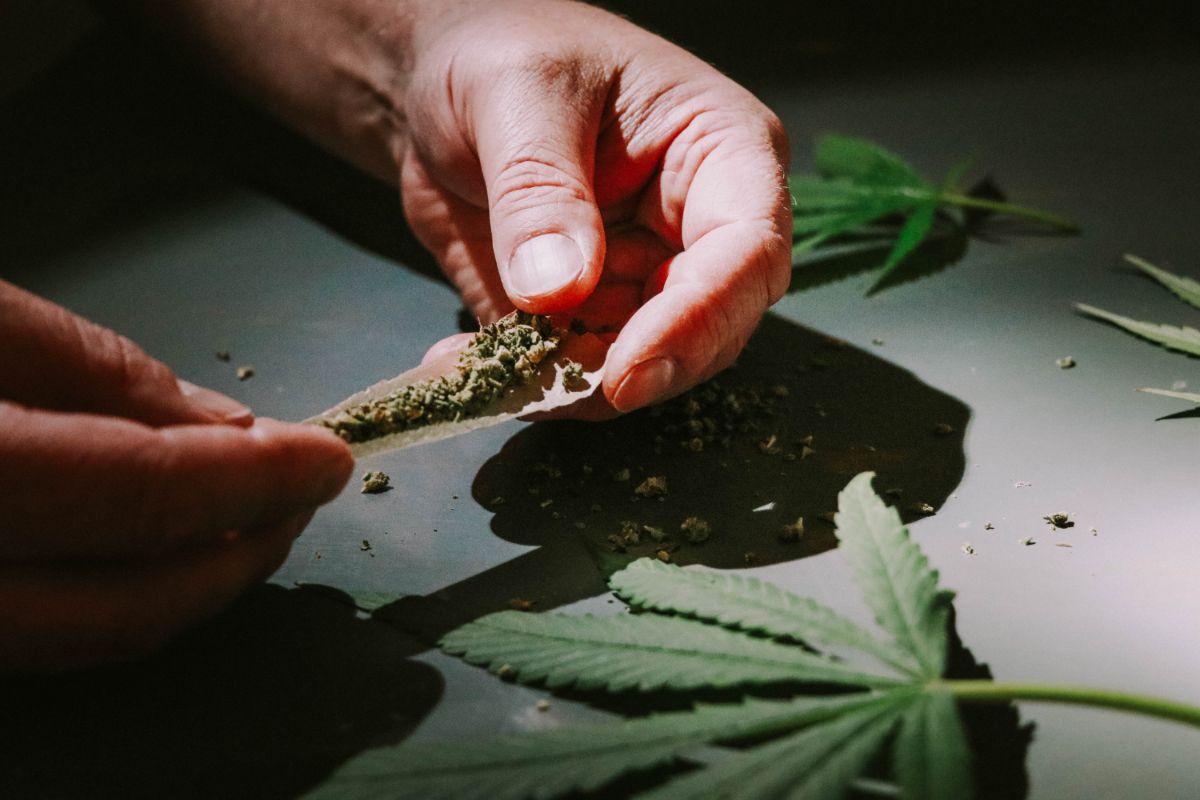
When you’re happy with the unrolled cone shape, you then need to roll your cone! Simply use your thumb and index finger to roll the paper up and down, gradually shaping the weed inside the paper.
In order for the roll to be smooth, you will need to pick the paper up, but just go slow and steady. It is possible to roll a cone without any of the weed spilling out, but if a little bit does fall out, that’s not a problem!
As long as the top of the joint stays bigger than the bottom, it will be fine.
When the weed feels a bit more shaped, start rolling from the filter end and begin rolling and tucking. As you are doing this, check the filter side to see how much of the rolling paper is left, and when it looks like there isn’t much, start licking the glue.
Move up the joint slowly repeating this process.
Step 6: Pack It Down
For the final step, you just need to start packing your cone down. To do this, you just need to lightly tap the filter side on your flat surface a couple of times. The top end will gain a bit of space, and when it does, you can simply twist the remaining paper.
You now have a cone joint ready to go! So admire your work, light up, and enjoy!
Conclusion
Rolling a cone joint does take patience and practice, but once you’ve tried rolling one a few times, you’ll soon find it really easy to do.
If you don’t manage to make a cone the first time you try, don’t worry! It is a little more technical than rolling a standard joint, but it’s totally worth it for how good it looks and smokes!
- 5 Best Weed T-Shirts For Women - June 26, 2023
- What To Wear To A Cannabis Café: 10 Awesome Options - June 26, 2023
- What Is Stoner Girl Clothing? All You Need To Know - June 26, 2023


