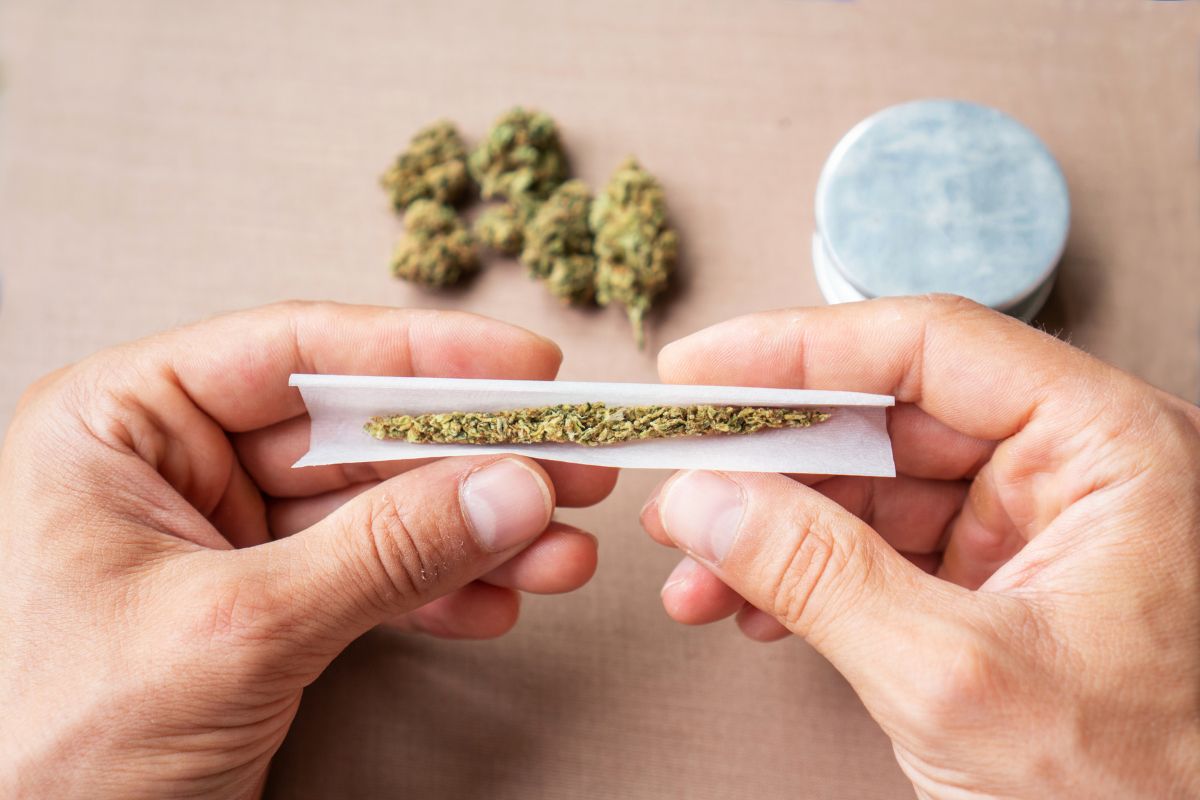
If you’re not an experienced smoker, then knowing how to put out a joint properly might not come as naturally to you as it does to those of us who have been smoking for a while, which is why it’s important to learn how to do it properly.
Of course, putting out a joint is just like putting out any other cigarette, however, if you’re looking to re-light your joint in the future, there’s a certain technique to putting your joint out without squashing it that you’ll need to learn.
So, to learn how to put out a joint, as well as how to re-light it after you’ve put it out, then read on, and we’ll provide you with all of the information you need to know!
How To Put Out A Joint
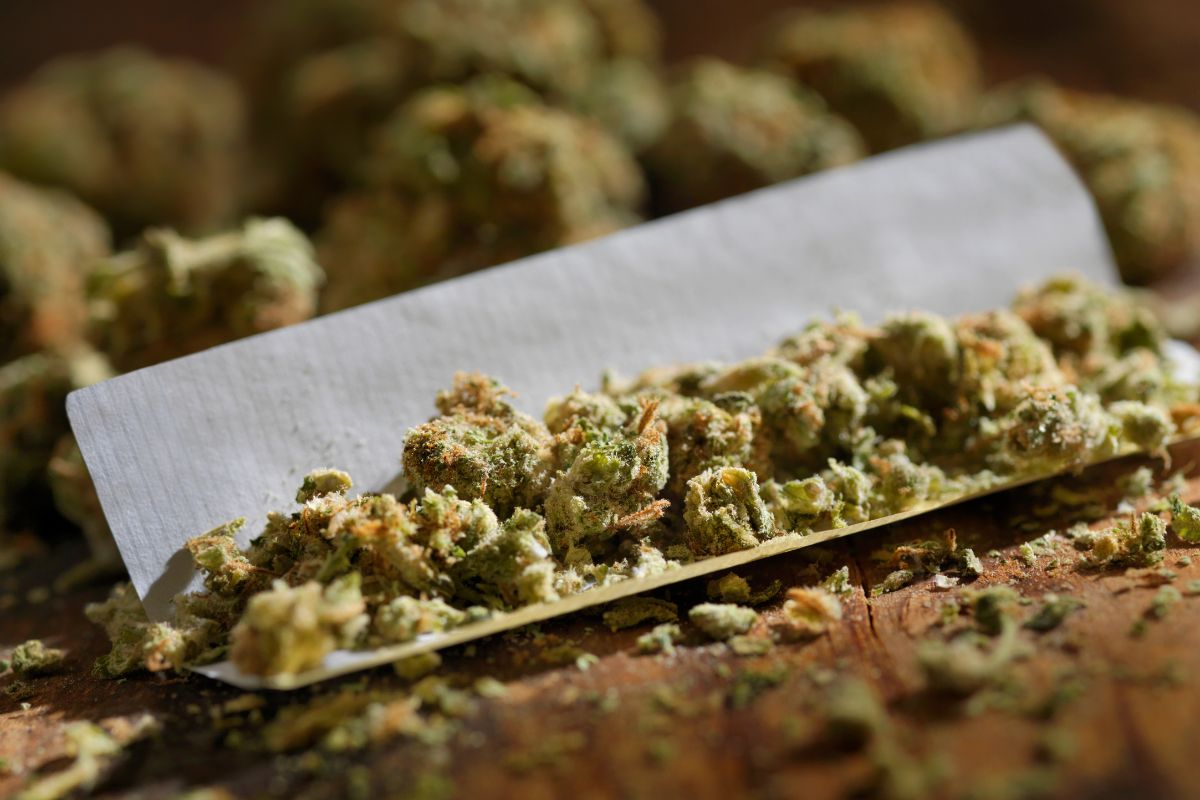
Putting out a joint is a relatively simple process, and there are a couple of different ways of doing things, but the first couple of steps look exactly the same, so let’s take a look at how to start off putting out your joint.
To begin, you’ll want to lightly tap your joint, which will help to get rid of any excess ash. This is important not only to reduce the mess but also to provide you with a clean cherry.
Now, you have options as to what you can do next, you can either flick off the cherry, stub it out, or graze it.
In order to flick off the cherry, all you’ll need to do is hold your joint over an ashtray and give the end of the joint a slight, where the lit flower is, a slight flick, and this should effectively put out your joint for you.
If you do this carefully enough you’ll be able to prevent any damage to the rest of your joint, which as you’ll later see, will be important for later.
Stubbing out a joint is the most popular way of putting a joint out, particularly if it’s finished, and there’s no weed left inside to smoke.
To do this, all you’ll need to do is press the lit end of your joint against a solid surface, and keep pressing it until the lit end has completely gone out. If you’re trying not to damage your joint too much, then holding it closer to the lit end will prevent any squashing.
The final option you have when it comes to putting out your joint is by grazing it, which is best done against the side of an ashtray.
So, to do this, hold your joint in a secure position in your fingers, turn it horizontally, and then begin to gently graze the lit end of the joint against the walls of the ashtray, which should cause the cherry to break off, extinguishing the joint.
This puts a lot less pressure on the joint, but can still cause it to break or become squashed if you don’t do it softly enough.
So there you have it, the three basic ways of putting out your joint, as you can tell, aside from stubbing it out, these methods all aim to prevent as much damage to the joint as possible, and as you’ll be able to see, there’s a good reason for doing this!
Can You Re-Light A Join After It’s Been Put Out?
One of the biggest misconceptions that new smokers have is that once you’ve put out a joint, you aren’t able to light it again. However, this simply isn’t true, and so long as you ensure that you don’t damage the joint when you put it out, then it’s completely possible to relight the joint!
Some people might just opt to leave their joint in the ashtray alight until they’re ready to smoke it again, however, this means that you’ll need to smoke it again soon, which isn’t ideal if you’re planning to go and do something else.
You also shouldn’t leave your joint out in the air for too long either, as the natural elements can actually cause damage to it, which is why so many people invest in a form of storage for their joints.
So, whether you decide to buy a specialized doob tube, which is a small thin tube that is designed to hold joints, or you can even use a glass mason jar to store your joints.
As long as it’s in an airtight container, then you should be able to enjoy your joints in the future with no issues!
How To Avoid Breaking Your Joint
Unfortunately, when many new smokers attempt to put their joint out in order to save it for another time, they end up breaking or destroying it in some way, which then prevents them from being able to smoke it again.
If this has happened to you, then it’s worth looking at these three tips, which should help you to prevent it from happening again!
Holding The Joint: You should always hold the joint securely, using a finger to help support the body of the joint as you go to put it out, which will help to avoid any crumpling or breakage.
Be Gentle: Whilst you’ll need to apply some pressure in order to put the joint out, you should still remain gentle, as being rough or too heavy-handed is what will lead to your joint breaking.
Avoid Plastic Bags: It might be tempting to put your half-smoked joint into a plastic baggie until you’re ready to smoke it again, but ultimately this won’t be enough to protect your joint at all!
Summary
To summarize, putting out your joint is relatively easy, and as long as you follow one of our three methods, as well as our tips, you should be able to put out a joint once you’re done with it, and relight it whenever you’re ready!
Hi, I’m Zack Finch and I work as a Budtender for a Health & Wellness center here, in sunny California. I have been using marijuana recreationally for around 6 years now, and have many a time enjoyed the benefit that weed has to offer.
Whether you’re looking for informational guides about edibles, vape oil, CBD, how to roll a cross joint, the best blunt wraps, anything you can think of, I’ll cover it here.
What are you waiting for? Become a bud buddy and dive in now!


")
")


")

