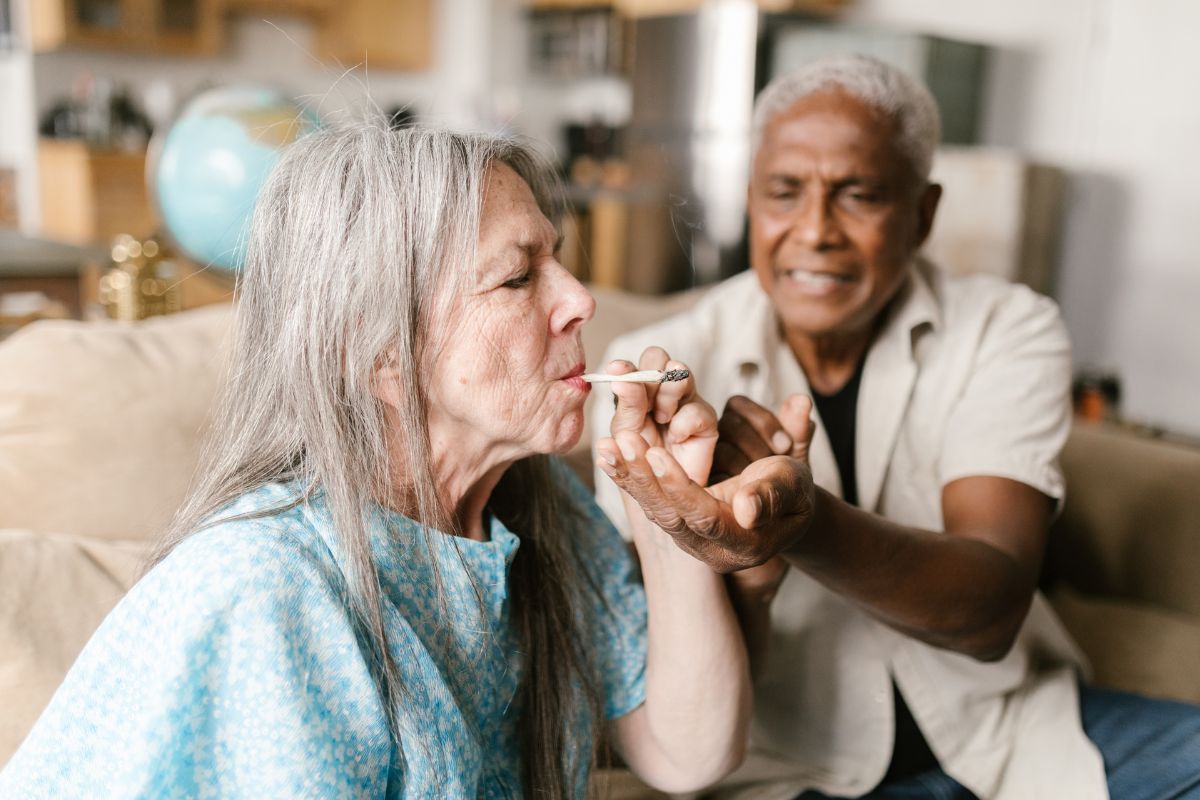
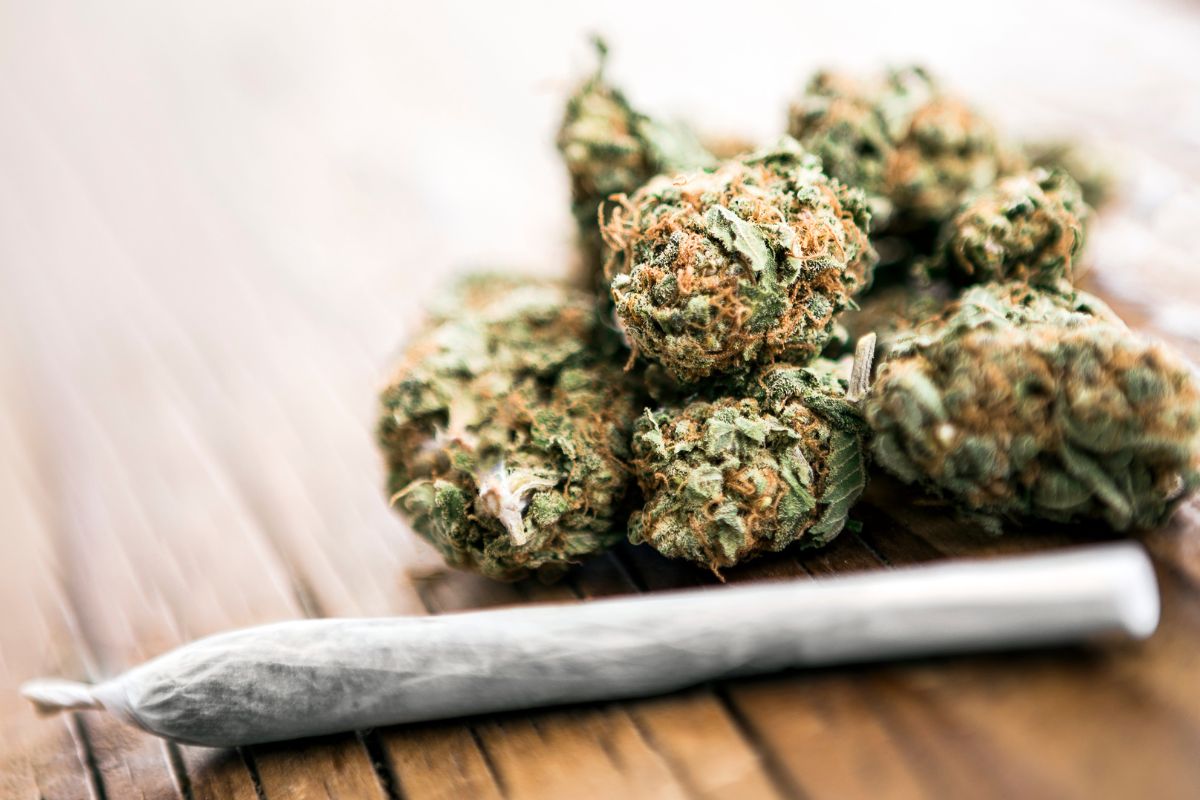
We all know the pain that comes with lovingly rolling your own joint with weed that you’ve either bought online or grown yourself, packing it to just the right specifications, only for it to go completely wrong at the lighting stage, ruining all that effort.
That’s right, joints can often go wrong when you light them. Whether it canoes – which is when it burns on the one side only – or the tip drops out completely because you haven’t packed the joint correctly.
However, if you learn this simple art correctly, then you can have the perfect smoke every time.
So how can you light a joint properly? Do you need any special tools? Can you light your joint in a way that is particularly healthy? Well, you can find out the answers to these questions and a whole lot more by reading this article.
Lighting A Joint – What Can Go Wrong?
There is plenty that can go wrong when you are lighting a joint. One of the main issues is when your joint canoes. This is when the joint is lit up on one side, resulting in an uneven burning and more smoke.
Most of the time a joint will canoe because you have lit too much of it at the top. This results in the joint burning far too quickly on one side, causing some of the contents to fall out.
This also happens when you light the joint directly from the side rather than from an angle.
There are many different methods of lighting a joint, some of which are more effective than others. We’ll discuss some of the different methods, along with the pros and cons of each.
Lighting A Joint With A Lighter
This is probably one of the most common methods of lighting a joint. These are easy to carry around, easy to light and you can use it multiple times.
You can also alter the length of the flame, which is very useful if you are trying to light something in a harsh wind.
But one of the issues with using a light is that you have to hold it quite close to your face when you are lighting up your joint.
This makes it harsh on the eyes and you might inhale some of the bitumen, which triggers an allergic reaction in some people.
It is also tricky to coordinate lighting your joint exactly where you want it while it is in your mouth. Often people who have not been smoking for that long find it hard to light the joint at the right spot for that very reason.
Lighting A Joint With A Match
This is a less common form of lighting a joint, but some people still use them. The tricky thing about matches is that the flame is inconsistent and once one blows out then you have to light another one.
Matches also contain a lot of sulphur, which could affect the taste of the weed in your joint. For the purists, this will be the least desirable option.
Also, in the same way as a lighter uses an open flame, this might get too close to your face, causing burning or irritation to the skin.
Another downside to using matches is that they aren’t great for using in windy or rainy weather.
If you are going to be using matches outdoors, then you might have to hold the joint in your mouth and cup your hand around the flame while you light the joint.
If you want the taste of your joint to be free of some of the chemicals that you might find in a match, then we would suggest that you let it burn a second or two before you place it into contact with your joint.
This is to ensure that all of those chemicals burn off and that they don’t affect the taste of your weed.
Is There A Correct Method Of Lighting A Joint?
There are better methods of lighting a joint than others. Most people would light a joint with a conventional trigger lighter that you would use to for a cigarette. But this might not be the best method of lighting a joint.
This is because a traditional lighter contains butane that you will be inhaling if you are sucking the flame of your lighter directly through your joint.
One of the best methods of lighting your joint to ensure that you have that clean taste from the moment you take the first puff of your joint is by using a hemp wick.
This string-like device is coated in beeswax and will give you a much cleaner and more natural burn.
You will still need a lighter to light your wick, but unlike a lighter, a hemp wick will allow you to have more control over the flame and will avoid things such as canoeing.
This is how you light a joint with a hemp wick:
Using a lighter, set one end of the wick alight. This will not burn like a flame, rather there will be an ember at the end.
When the hemp is lit, you might have to angle it slight to make sure the whole end of the wick is burned. Take care to avoid the dripping beeswax.
Take the joint and place it against the wick. Circle the wick around until the whole end of the joint is lit.
Take a few puffs of the joint to draw oxygen through to make sure the cherry of your joint is glowing sufficiently.
Once you are confident that your joint is lit, stub out the ember of your hemp wick.
Conclusion
Lighting a joint might seem like an easy task, but if you want to preserve the flavor and texture of your weed, then we would suggest that you avoid an open flame like a match or a lighter.
For the serious weed connoisseur, a hemp wick will preserve that natural flavor and give you a much cleaner smoke (see also “How To Identify Hemp Buds“).
Hi, I’m Zack Finch and I work as a Budtender for a Health & Wellness center here, in sunny California. I have been using marijuana recreationally for around 6 years now, and have many a time enjoyed the benefit that weed has to offer.
Whether you’re looking for informational guides about edibles, vape oil, CBD, how to roll a cross joint, the best blunt wraps, anything you can think of, I’ll cover it here.
What are you waiting for? Become a bud buddy and dive in now!

")
")


")

")