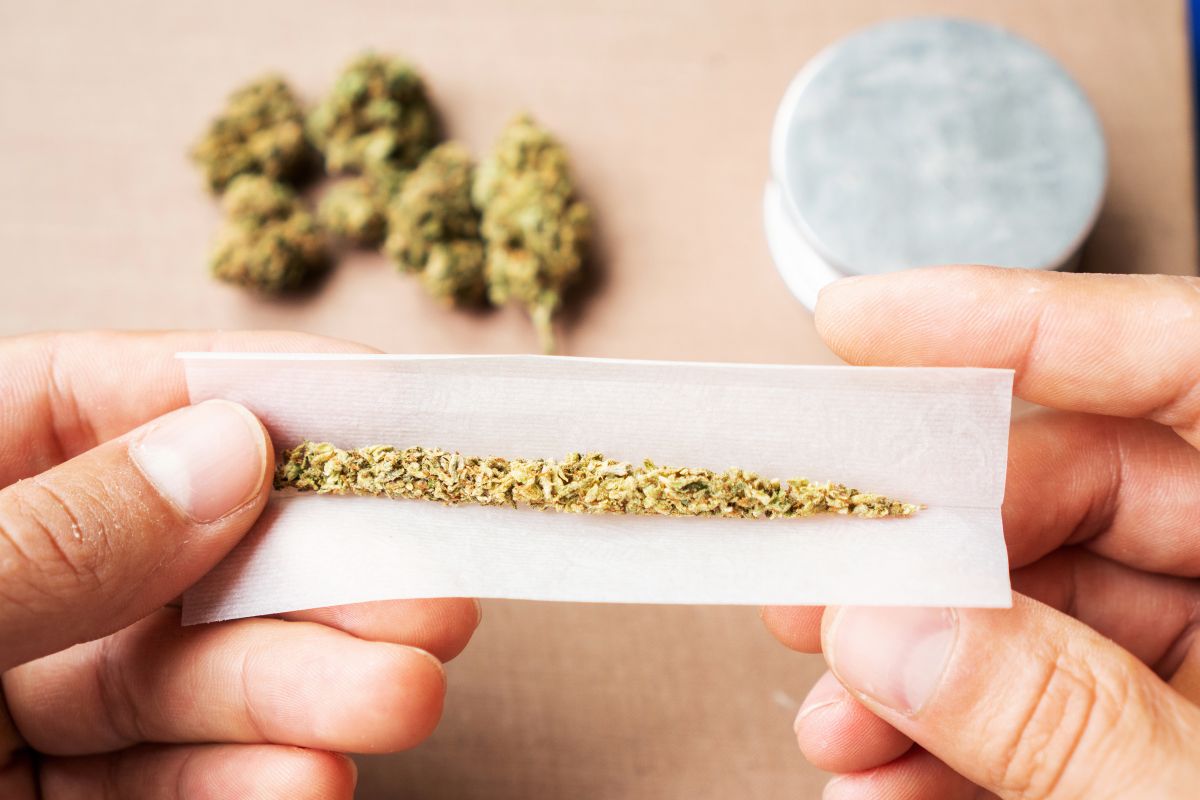
If you are new to smoking weed, then you might be having a bit of trouble learning to roll. It’s no secret that freehand rolling takes a lot of time and practice, and you wouldn’t be in the minority if you just wanted an easier way to put together your joints.
Luckily, there is something that can make your whole experience easier, and it comes in the form of joint rollers. These handy little contraptions will save you lots of time and energy, and they will help you have a much more pleasant smoking experience.
If you have never used a joint roller before, then you’re in luck! We are going to be taking a look at what a joint roller actually is, as well as how you can use them. So let’s get started!
What Is A Joint Roller?
So if you’re really new to smoking, you have probably never heard of a joint roller before. They are mechanical devices that quite literally roll joints for you- all you have to do is add the papers and the weed!
Joint rollers are really easy to use and will save you a lot of time and hassle, especially if you are new to smoking and rolling. They are quick and easy to use and they are quite affordable too.
There are different types of joint rollers too, some of which include injectors, cone fillers (see also “How To Roll A Cone“), and electric rollers, but honestly, just a standard joint roller is all you need to make the perfect joint.
How To Use A Joint Roller
Now that you have a better idea of what a joint roller is, let’s get into how to use them. The process might be a bit fiddly at first, but once you’ve used the device for the first time, you will have no issues rolling joints in the future.
Before we get into the guide, make sure you have all the necessary items, as this will save you lots of time. The things you will need include:
Before you use your joint roller, make sure that it is clean and that there is nothing on it that might jam it. It’s better to have a clean experience because it will make the whole process faster and easier.
Once you have made sure that your join roller is clean and you have all the necessary items close by, simply follow the steps below!
Step 1: Grind Your Weed
For the most part, using a joint roller is the same as rolling a joint manually, so of course, this means that the first thing you’ll need to do is grind your weed.
When you are grinding your weed, you need to make sure that you don’t use too much because the joint roller will make the joint too tight. The best amount to grind usually falls somewhere between 0.5 to 1.5 grams.
Step 2: Open The Joint Roller
Once your weed has been ground, you need to then open your joint roller and slide it up and over. On the roller, there are grooves where the pegs go through on each side of the roller.
As soon as you’ve unlocked the roller, run your finger through the center to make sure that there is enough room for your weed to fit.
Step 3: Pack Your Weed
For this step, just make sure that you are only packing the weed on one side of the joint roller. If you are using filters or a roach, then make sure you leave a bit of space on one of the ends so you can place it there before you include the rolling paper.
It’s important you remember not to pack too much weed in this step, otherwise, your joint won’t smoke as well.
Step 4: Roll The Machine
Now you are going to need to roll the machine. Don’t add any rolling papers yet, as this step is just about making the weed a bit more uniform.
You need to lock the roller that is closest to you and place both of your thumbs about a quarter of the way from the ends. Pull your thumbs in and down and keep rolling until the weed takes on a bit more of a round shape.
Some weed may fall out of the rolling machine during this step, but this is completely normal, especially if you’ve added too much.
Step 5: Add The Rolling Paper
Now that your weed is a bit more uniform, you can add in your rolling paper. To do this, you need to add the paper between the two rolls on the joint roller. Make sure you keep the glue/sticky end of the paper facing up toward you.
If you roll it the wrong way, you’ll have to start again!
Roll the machine roughly half a turn, until the only part of the paper that is sticking out is the glue/sticky bit. Finally, roll it for another half turn, and lick the glue/sticky bit.
Step 6: Enjoy!
And just like that, your joint is complete! All you need to do now is unhinge the roller and take the joint out. You are free to start smoking once the joint has been removed from the roller and you will find the flawless roll incredible.
Conclusion
Rolling your own joints can be a very fun process, but if you don’t have the time or the skill, then there is no shame in using a joint roller instead. You will always roll perfect joints when you use one and if you’re in a bit of a rush, these rollers can really save you a lot of time.
Using the guide above, you will be able to use a joint roller in no time at all! It might seem complicated on the surface, but once you try it out for yourself, you will see just how easy and convenient it is!
Hi, I’m Zack Finch and I work as a Budtender for a Health & Wellness center here, in sunny California. I have been using marijuana recreationally for around 6 years now, and have many a time enjoyed the benefit that weed has to offer.
Whether you’re looking for informational guides about edibles, vape oil, CBD, how to roll a cross joint, the best blunt wraps, anything you can think of, I’ll cover it here.
What are you waiting for? Become a bud buddy and dive in now!

")


")
")

")


