It’s not too difficult to make a DIY lighter, but you need to know what you’re doing, especially in terms of safety.
When you’re making a lighter, you’ll be handling flammable materials, so you want to ensure that both you and your surroundings are secure before you start working on your project.
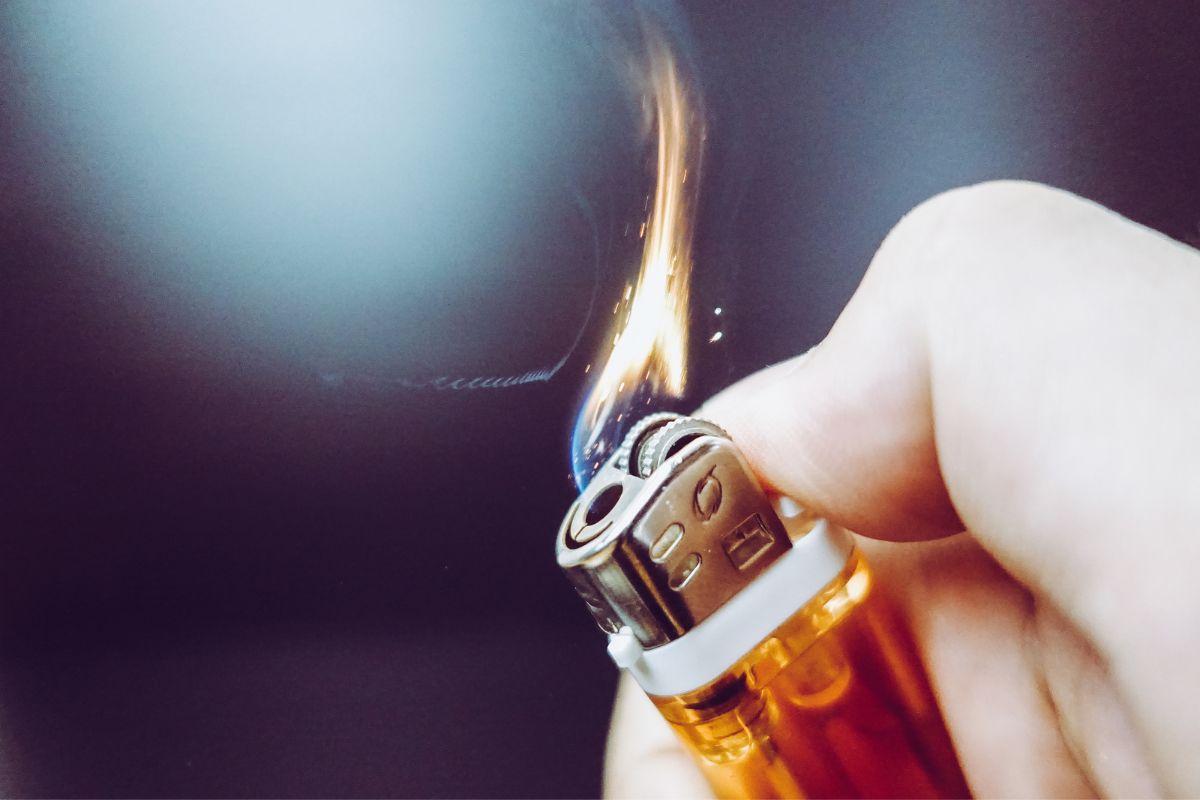
In this article, we’ll be teaching you how to make a lighter using foil and a battery. Just make sure you’re wearing fireproof gloves, and ensure that you have a fire extinguisher nearby just in case.
When you’re done with the batteries, don’t forget to recycle them, and dispose of them immediately if they start leaking. After all, battery acid is both harmful and corrosive, so you don’t want it leaking on any surfaces.
What Kind Of Batteries Do You Need?
You’ll need some new batteries to ensure that they’re powerful enough to generate a flame. Ideally, you should get some AA alkaline batteries, as these are the most commonly used when making DIY lighters.
They’re also small and compact, and using two ensures that you have enough power to generate a charge. If you do only want to use one, we recommend finding a 9 volt battery, as any lower, and they won’t generate enough power.
What Kind Of Foil Do You Need?
You’ll need some metal foil to go with your batteries. If you don’t have aluminum foil, then you can also use a gum wrapper or some foil from your cigarette lighter. Make sure that the foil is folded once to form a strip.
When using AA batteries to make your lighter, you should ensure the strip is at least three inches long, and a centimeter wide.
Folding it this way ensures that the foil connects to both ends of the battery, and it will thus form a small bridge over it.
Having a strip this size will ensure that it won’t break or burn too quickly. However, if you are having issues, do feel free to experiment, so long as you do so safely.
What Can You Use For A Transfer Source?
The flame will go out quickly with your DIY lighter, so you need to ensure you have a transfer source. This is a flammable material that you can transfer the fire to so that it keeps going.
If you’re using a fire source, you can use old newspapers, dry leaves, or loose paper.
You should have something that’s easy to transfer the flame to. If you don’t transfer the flame over to it quickly, the battery may catch fire.
The last thing you want is the battery catching fire, as it may end up exploding, and it could harm you if you’re not wearing the right safety gear.
Identifying The Battery And Attaching The Foil
Once you have a transfer source, you should identify each end of the battery. There is a positive and a negative. Most batteries will show you where the positive and negative side is using a + and – sign.
Upon identifying the source, you should attach the foil. Once you are ready, you can attach the foil to the negative side of your battery.
Once you’ve done this, attach the foil to the positive side of your battery. If successful, you’ll have fire.
Can You Make Your Own Lighter Fluid?
It’s not impossible to make your own fluid, and in fact, it’s a straightforward process. You just need to mix 2 parts water with 1 part ethanol, adding a pinch of salt at the end. You can also purchase your own fluid, without any issue.
Can You Make Lighters With Other Materials?
There are a wide variety of ways to make your own lighter at home, with batteries being the most popular way. However, you can also make a DIY lighter using a pencil grip (see also “Best Lighter For Weed“).
How To Make A Pencil Grip Lighter
If you want to make a pencil grip lighter, you’ll need to get a pencil grip and plug one end with a small ball of tin foil.
Don’t worry about the type of pencil grip, just ensure it’s firm and straight. Then, tear some small pieces of cotton and roll them into pea-sized balls. Put a thin layer of Vaseline between them.
Once you’ve done this, put it inside the open end of the pencil grip, and add the cotton until it’s full.
Once you’ve done this, straighten a paperclip and place it into the pencil grip on the tin-foil side. Squeeze it along the side so that it is along the wall of the pencil grip, between it and the foil ball.
Don’t forget that you should only insert it a quarter of the way into the pencil grip. You should then tighten the pencil grip with two rubber bands. They should each be one centimeter below the top and bottom of the grip.
Then, wrap a strip of aluminum foil around the grip from top to bottom (see also “Best Blunt Wraps“). Ensure that the foil is about the width of your thumb.
Secure it with rubber bands once more, leaving a centimeter of space between both sides. Then light the top with a candle. The combination of vaseline and cotton will transform the ball into a wick.
For your safety, we recommend holding the lighter via your paperclip, and use a lighter to light the other end of the pencil grip.
Final Thoughts
Personally, the pencil grip method is more reliable if you have matches on hand that you can use. However, you should only make a DIY lighter with batteries if you’re confident and can guarantee that you’re in a safe environment.
Making a lighter with batteries can be dangerous, but these items can be useful if you want to keep any equipment on you in times of trouble.
Hopefully, with the help of this guide, you won’t have any trouble trying to make your own lighter when you need one. However, you should remember that you should never light the battery itself on fire, or it will explode.

Whether you’re looking for informational guides about edibles, vape oil, CBD, how to roll a cross joint, the best blunt wraps, anything you can think of, I’ll cover it here.
What are you waiting for? Become a bud buddy and dive in now!
- 5 Best Weed T-Shirts For Women - June 26, 2023
- What To Wear To A Cannabis Café: 10 Awesome Options - June 26, 2023
- What Is Stoner Girl Clothing? All You Need To Know - June 26, 2023
")


")


