Cannabis needs a hot environment to do well, so if you live in a cold climate the sun might not be strong enough to keep your plants alive.
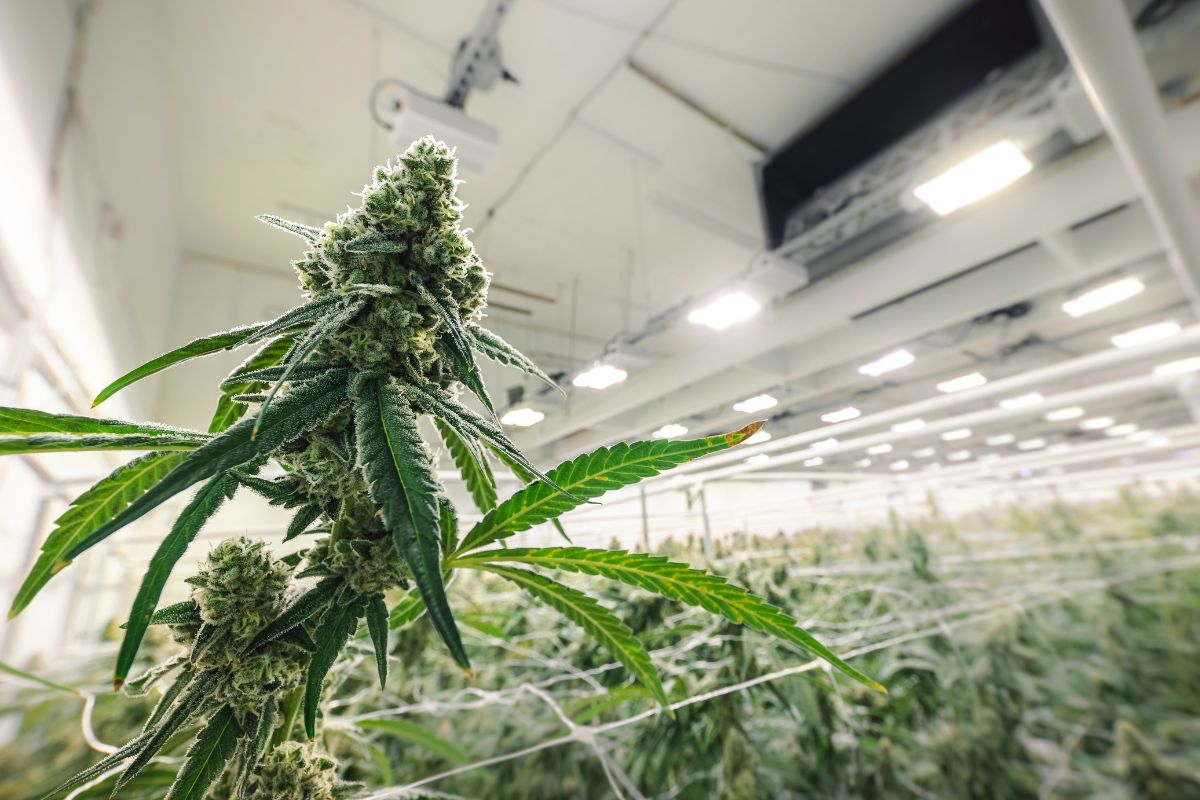
For the best crop, you’ll need a grow tent with great ventilation.
Do You Need A Ventilation Kit In Grow Tent?
Yes, you need a ventilation kit in your grow tent. It is essential to make sure the air stays clean and has a good balance of oxygen and carbon dioxide.
If you put a bag over your head, the oxygen will soon run out and you won’t be able to breathe. The same thing happens to plants. They need carbon dioxide to breathe, and they “exhale” oxygen.
If there is too much oxygen in the tent, then your plants will wilt and then die.
Secondly, because a grow tent needs to produce a lot of light to feed the plant, the heat created as a byproduct could harm your crop. Yes, cannabis does well at high temperatures, but that doesn’t make it immune to heat stress.
The ideal temperature for this plant is 85 degrees Fahrenheit (30 degrees Celsius).
A ventilation system will remove the excess temperature.
Hot landscapes will create evaporation, meaning the soil will be dry. With a ventilation system, the heat will be controlled, so more water will stay in the soil.
For a cannabis grow tent, you need to be aware of bud rot and mold.
These are common problems caused by bad ventilation. These diseases love moist and warm conditions, so your ventilation needs to balance warmth and water without encouraging an infection.
What Ventilation Do You Need For A Grow Tent?
There are two types of ventilation systems you can use. They are passive and active.
A passive ventilation system will have an exhaust fan that sucks out the air from the tent, and an intake port (or ventilation grill) that sucks in fresh air from outside. The system is called passive because there is just one engine.
The intake port is a hole that brings in the fresh air in reaction to the sucking on the other side of the tent.
The passive system is the cheapest and works well if the air pressure in your tent is less than the air pressure outside. High air pressure is most common in cold countries such as the UK or Russia.
Cold states such as Alaska, North Dakota, and Minnesota would also benefit from the passive system.
Hot states and hot countries cannot use the passive system as the humanity in the tent will likely make the air pressure higher inside, which means the system will not work.
Active ventilation systems have the same exhaust to expel air, but it also has another powered fan that brings in the fresh air. The additional powered fan is what makes them more expensive.
These systems are best for large growing areas or hot locations.
To figure out which ventilation system you need, you should calculate your CFM or Cubic Feet Per Minute. This is the measurement of airflow volume.
The formula is simple: measure the tent’s width, length, and height. Multiply these figures together and then divide the number by 5. That figure will be your recommended CFM.
This is the formula in simple terms:
(Grow Tent’s Width x Length x Height) / 5 = CFM
With this information, you can figure out which ventilation kit has the right power for your grow tent.
How Do You Ventilate A Homemade Grow Tent?
Ventilating your homemade grow tent should be easy. It all depends on what your tent currently has ready.
We will give you the information based on having no tent whatsoever. From there you can gauge how your tent fits into the information. For example, if your tent doesn’t have intake holes, you will need to cut them out.
If they already have an intake hole, you can ignore that step.
Let’s go!
Equipment
An Internal Fan (this moves the air around the tent)
An Extractor Fan (this removes the air to help maintain the temperature)
An Air Intake (this is the hole or messed side which allows new air to come in)
First, make sure that the grow tent has an air intake. This is normally found around the bottom of the tent, covered by a velcro flap. Most intakes will have a mesh screen which acts as a filter against dust and pests.
When the fan is on, the flap should be open. When the fan is off, the flap should be closed. This will prevent pests.
If there is no air intake, create a hand-sized hole using the cutting tools. Then glue or sew on mesh screens to cover the hole. This is your homemade air intake.
Most grow tents will have a hole at the top of your tent. Push ducting through that hole so most of it is outside, and some of it is inside the tent.
Then place the carabiner ratchets around a pole near the hole. They should look like loops. This will be used to hold up the extract fan. Normally there will be a pole that keeps the tent in shape,use this pole.
Slot the extractor fan into the carabiner ratchet loops. And then connect the ducting to the fan.
Lastly, clip your internal fan to a different pole, and have it face the plants.
Final Thoughts
The machines might seem complicated, but once you know the formula the rest is simple. We suggest buying a grow tent instead of making your own.
This way you know that the holes are the right size and in the right places.
Hi, I’m Zack Finch and I work as a Budtender for a Health & Wellness center here, in sunny California. I have been using marijuana recreationally for around 6 years now, and have many a time enjoyed the benefit that weed has to offer.
Whether you’re looking for informational guides about edibles, vape oil, CBD, how to roll a cross joint, the best blunt wraps, anything you can think of, I’ll cover it here.
What are you waiting for? Become a bud buddy and dive in now!

")

")
")
")
")
")
")
")
")